Getting Complete Mezzanine Solutions for Your Building Project in 5 Steps
Installing a mezzanine can be a great way to maximize floor space in your warehouse, distribution center, manufacturing facility, retail store or other building. Adding an extra level with a sturdy mezzanine floor lets you effectively double (or more) your usable square footage. This allows room for more storage, production lines, employee space and more.As per experts in the field AW Structures, getting the complete mezzanine solutions designed, built and installed takes careful planning though. Follow these 5 key steps to ensure your mezzanine solution is done properly:
Step 1: Assess Your Space and Needs
The first thing you need to do is take measurements of the area where you want to install the mezzanine. Consider the height of the ceiling or roof structure and any potential obstacles like HVAC ducts, electrical conduits or ceiling sprinklers. Make sure to account for needed headroom clearance underneath too.
Also define how the space will be used – what it will store, types of racks or shelving to be installed, necessary load capacity, needed accessibility features, and important code considerations. All this will inform the mezzanine design.
Step 2: Choose the Right Mezzanine Components
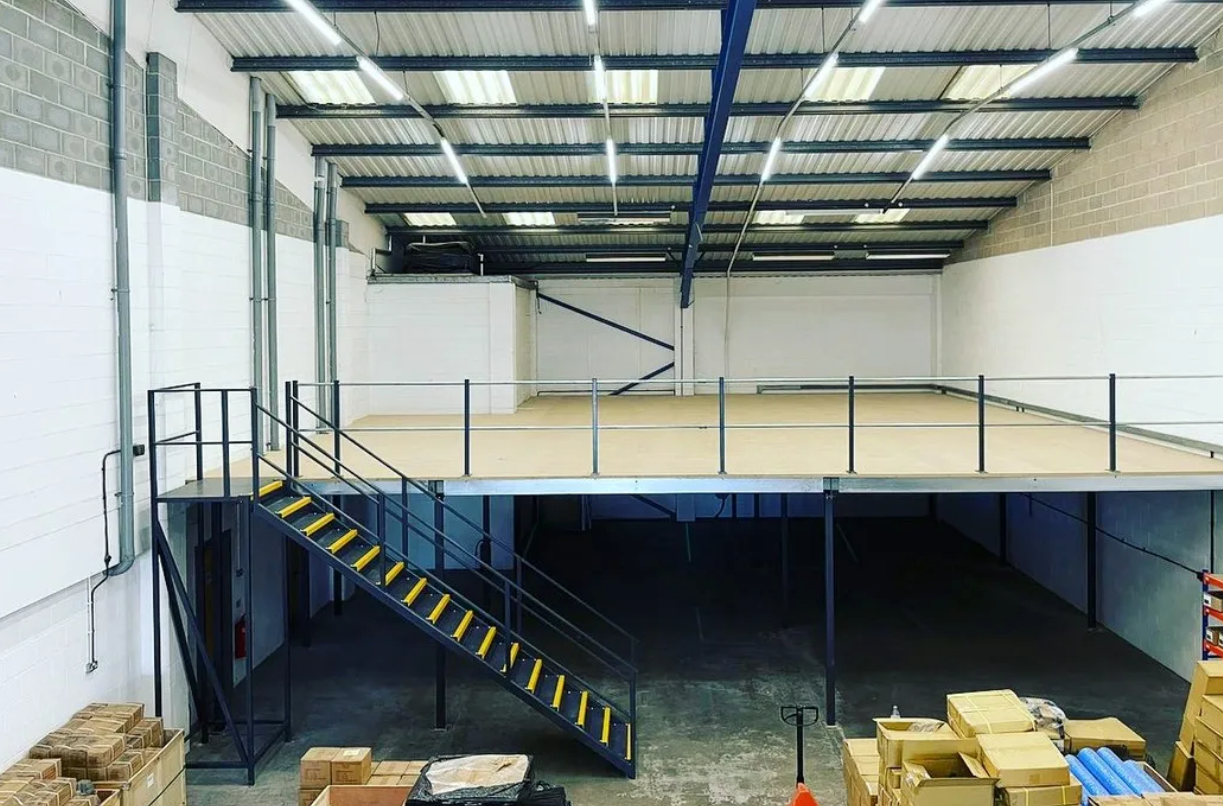
Next, select what materials your mezzanine system should comprise. The structural pieces like columns, beams and decks can be constructed from steel, aluminum or even fiberglass for corrosion resistance. Decking often uses sturdy wooden panels or concrete panels over steel. Stairs and safety railings need to meet codes too.
Consider prefabricated versus custom components too. Prefab is faster to install, while custom offers more flexibility. Modular mezzanine systems make changing layouts simpler down the road. The supplier you choose can advise what works best.
Step 3: Design It to Fit Your Goals
Now you’re ready to put together a design plan. A qualified mezzanine company will create CAD drawings showing the footprint, height, loading areas, placement of stairs & gates, intended storage layout and other details.
Approval of drawings by local building officials may be required prior to installation, to ensure compliance with zoning rules and building codes. The design phase is critical to nail down all specifications before proceeding.
Step 4: Installation
When design is finalized, your mezzanine systems provider can then manufacture the necessary components and send an experienced team to your location for professional installation. This typically takes between 1-3 weeks depending on system size. Safety procedures and inspections are carried out throughout.
Be sure to ask about any preparation work needed in the facility beforehand, like clearing the necessary floor space or finishing the underlying floor surface. Some temporary utilities access or shutdowns may be required too during mezzanine assembly.
Step 5: Use It.
Once the inspected and approved mezzanine is installed in your building, it’s ready to serve your needs. Add any special finishing touches like custom gates, work platforms, safety signage or access control systems to tailor it. Then bring in shelves, racks, equipment or inventory and make the most of your new space.
Conclusion
Following these key steps will get your building project a high-quality mezzanine solution to expand your square footage. With an experienced mezzanine company guiding the process, your business can gain that extra elbow room needed to support further growth and efficiency. Just be sure to plan thoroughly and get your precise specifications covered in the design.
Stay tuned for more news & updates on Discover Tribune!