The Process of Painting Kitchen Cabinets
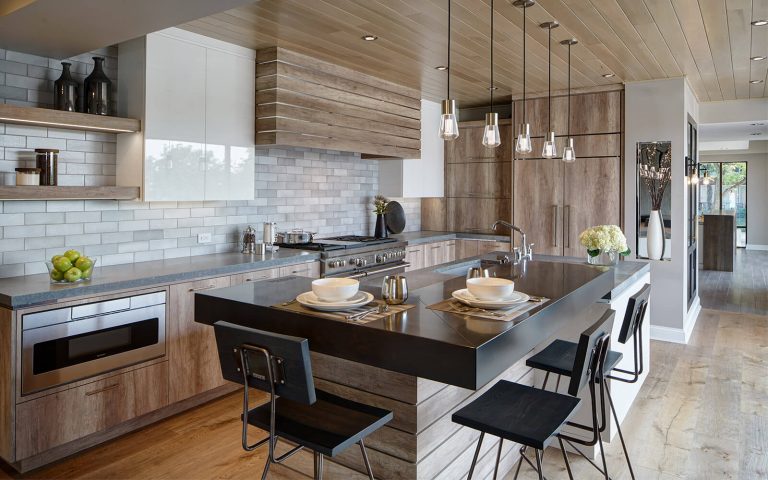
In home design, the kitchen holds a crucial role as the main focal point. The tone and mood of a home’s interior design are significantly influenced by cabinets, appliances, and the colour palette of the kitchen. Altering this design can have a major impact on the overall ambiance of your living space. Painting kitchen cabinets stands out as one of the easiest and cost-effective methods to enhance the feel of your entire home. To begin, substantial savings in materials and building costs are achieved by opting to paint existing cabinets instead of investing in new cabinet construction and installation. The cost of painting cabinets is merely a fraction of the expense involved in replacing them, making it a budget-friendly alternative. Additionally, the majority of today’s kitchen and bath cabinets, crafted from solid oak, maple, or high-quality composite materials, have a long lifespan. With a professional and high-quality painted coating, these cabinets can endure for an additional decade or more.
In this article, the focus is on the overall process behind painting a set of cabinets, encompassing the prep work, the level of care required for a professional finish, and the resulting product. With the right tools and information, anyone can paint their cabinets. However, understanding how professionals approach cabinet painting and the necessary steps for achieving the highest quality finish can provide valuable insights.
Prepping
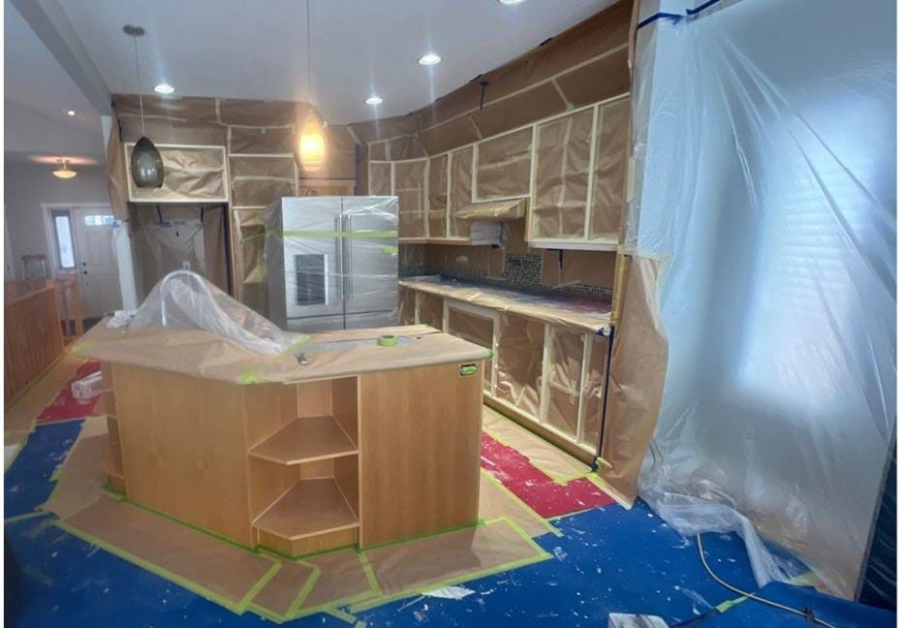
The initiation of a successful paint job involves meticulous preparation. This phase is both intensive and crucial for any painting project, especially when aiming for a high-quality, professional finish in cabinet painting. The prep phase commences with the removal of cabinet doors, drawer fronts, and any other detachable pieces. For a top-notch finish, these components are taken to a professional spraying booth, facilitating organization, cleaning, sanding, painting, and drying in isolation from the home. Once the kitchen or cabinets are “opened up,” hardware such as door hinges and drawer slides can be removed to prep the cabinet boxes. Professionals typically use tape, paper, or plastic coverings to mask off the interior of the cabinet boxes, creating an edge against the front-facing surface. After masking off the cabinet box interiors, the next step involves covering and protecting remaining surfaces, including flooring, wall surfaces, countertops, backsplash, and appliances, from the paint. Caulking is applied to achieve smooth lines along hard edges and wall surfaces. After painting, any non-paintable silicone is replaced. The key to successful prep involves clean lines, clean surfaces, and comprehensive masking to safeguard against overspray.
Painting
When professionally painting a kitchen with industrial sprayers, a substantial amount of dust is produced. Ensuring surrounding rooms or open areas are sealed with plastic coverings during the prep process prevents contamination with overspray and dust. The intensive prep process is crucial, ensuring that no paint ends up where it shouldn’t. Once this assurance is achieved, surfaces are prepared for painting. For kitchens, this entails cleaning off any grease or food grime, thorough sanding using various power and hand sanders, dusting, and applying two full coats of base primer. In between primer coats, surfaces are checked, fixed as needed, sanded again, and dusted before the application of two full coats of colour. While the painting process itself is relatively quick compared to the prep phase, the resulting finish is where the meticulous prep work shines. Smooth surfaces, clean lines, and vibrant colours contribute to the appearance of brand-new kitchen cabinets. High-powered professional sprayers play a critical role in achieving the glossy, smooth, flawless finish associated with quality sprayed lacquer.
Install and Finish
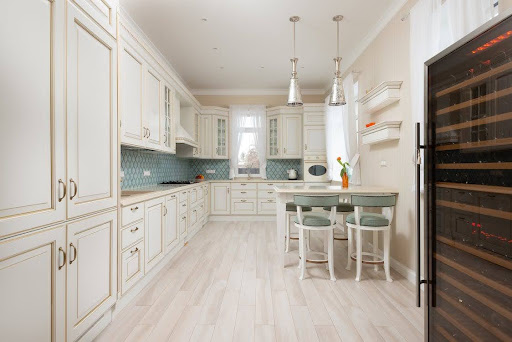
Depending on the product used, the turnaround time for sprayed finishes on cabinets is relatively quick. Sprayed lacquer, dry to the touch in about fifteen minutes, allows for thorough checks and removal of prep shortly after spraying completion. While a sprayed lacquer finish may take up to a month to fully cure, it does not fade and is easily sanded for any necessary touch-ups. After de-prepping and cleaning the kitchen space, doors and drawer fronts are delivered back to the home from the shop. The labeled doors ensure proper reinstallation, resulting in a kitchen space that appears entirely new, yet features original cabinets completely revived and refinished. The noticeable change in color, especially from dark stains to brighter, more vibrant shades, brings about a completely redesigned and modernized feel within the same home, achieved with just a new coat of paint.
Stay in touch to get more news & updates on Discover Tribune!